Free Construction Guide
How to Build a Miniature Golf Course: The Complete Construction Guide
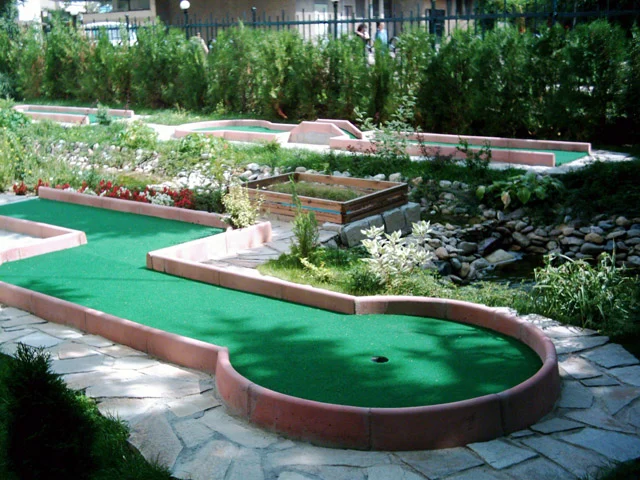
Miniature golf has come a long way since its first inception. Today’s players expect far more than gimmicks — they want realistic fairways, challenging play, and a course that entertains everyone from youngsters to grandparents. This guide walks you through exactly how a modern “golf in miniature” course is built, from staking out the ground to hanging the last lamp.
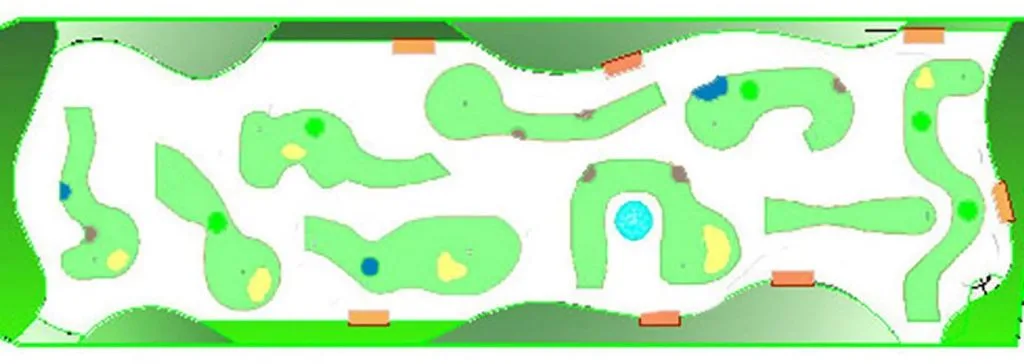
The purpose of this guide is to give you an affordable way to build your own new-style miniature golf course without breaking the bank. It doesn’t include a complete set of construction plans and AutoCAD files — but you can order a plan matched to your area and style, and get a free customization that alone can save you several thousand dollars.
Order Your Custom Miniature Golf Plan Today
From Windmills to Real Fairways: A Shift in Style
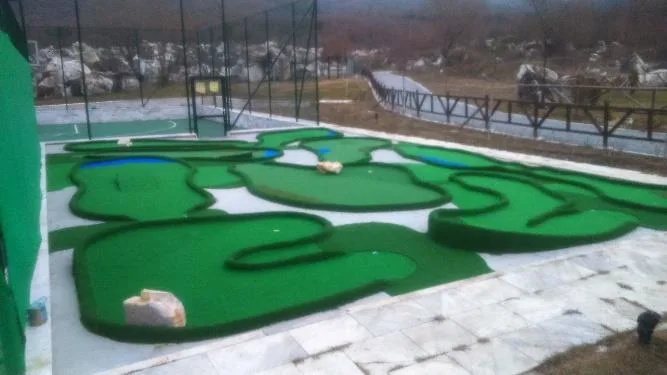
Years ago, miniature golf leaned heavily on “gimmick” obstacles — windmills, barns, the usual novelty props. Today the trend has shifted toward “golf in miniature”: landscaped courses that imitate real golf, complete with water, rough, and sand hazards.
In tourist-heavy locations, heavily themed facilities still work well to pull business from competitors. In local markets, though, challenging play matters more than theming for keeping customers coming back.
I. General Requirements
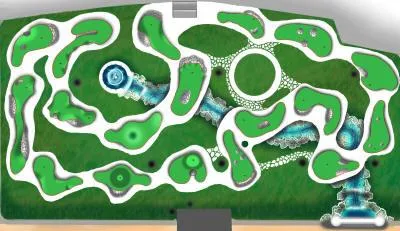
The construction area must consist of a usable space of 800–2,000 m². Keep as many existing trees or shrubs as possible — remove only what actually blocks construction of the fairways. On sloped or uneven ground, work with the natural slopes wherever you can rather than fighting them.
II. Preliminary Work
Once the construction site and measurements (survey plan) are settled, the process runs in this order:
- Prepare a scheme of the game ground (scale 1:100), arranging the fairways in the order set out in the detail plans (holes 1 through 18)
- Stake out the fairways across the area
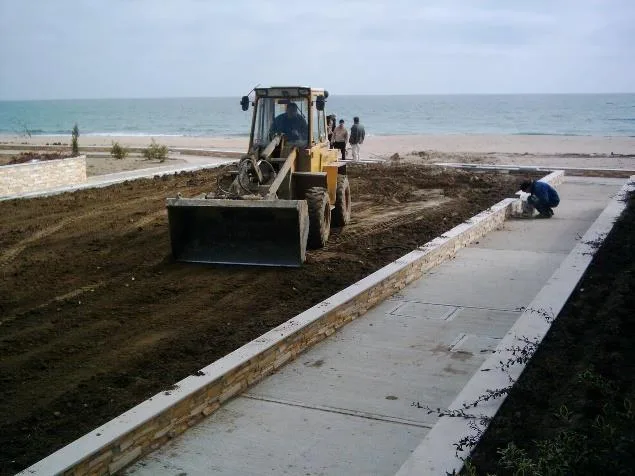
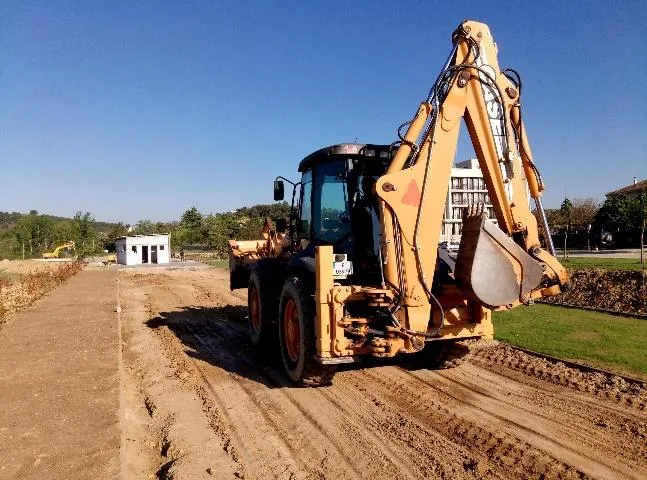
- Plow and prepare the ground, taking the fairway layout into account
III. Construction of the Fairways
1. The Substructure
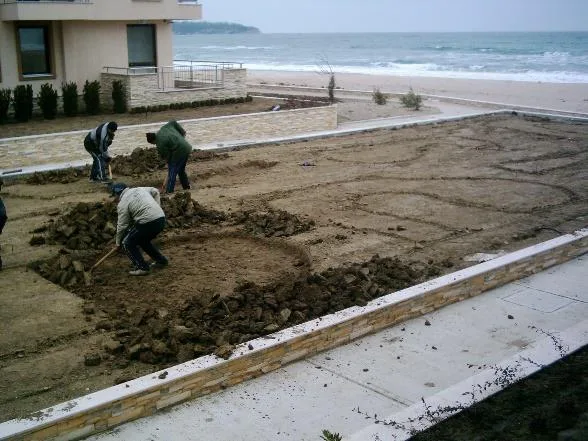
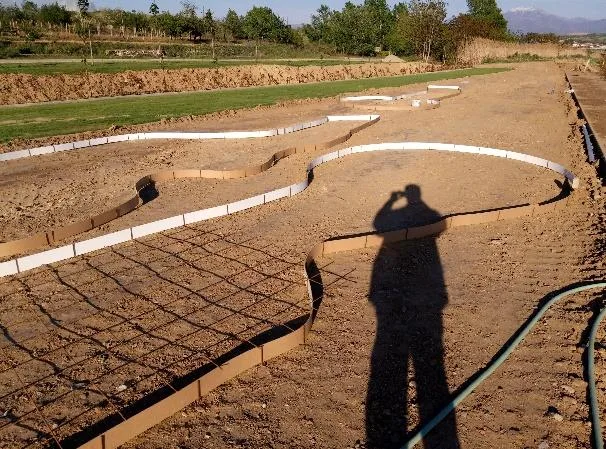
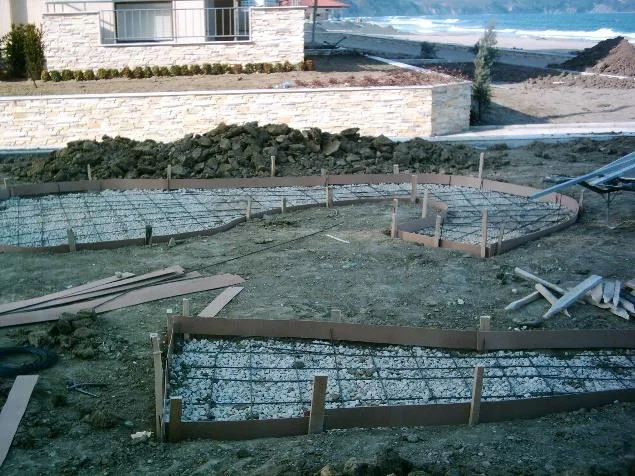
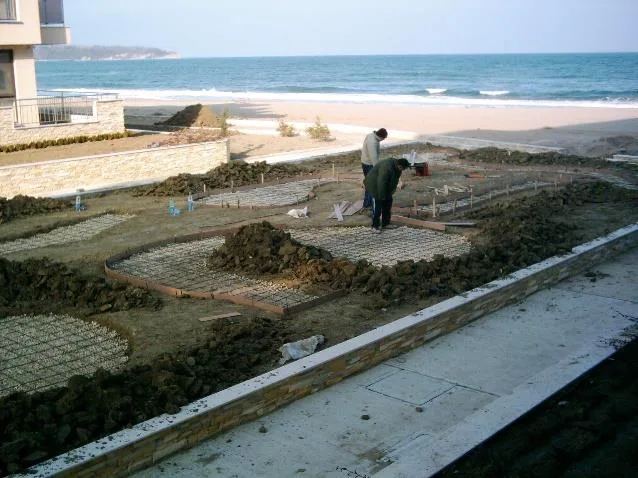
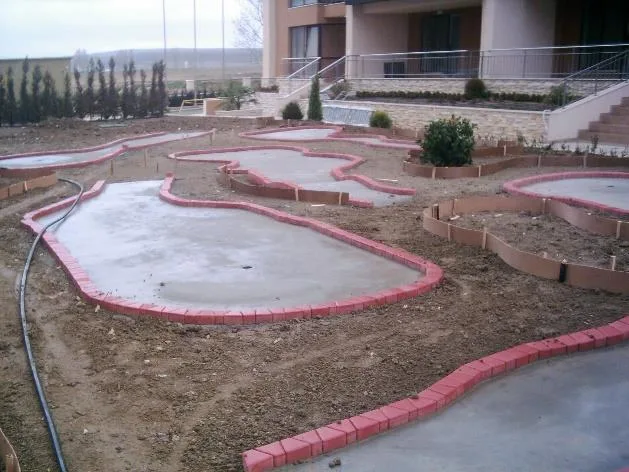
The substructure must extend 15 cm beyond the border of each fairway, with a minimum depth of 25 cm below the natural ground level. The ground itself is arranged horizontally.
2. The Layer of Stone
Use gravel (broken rock, sizes 40/6 and 25/40) or coarse pebble (40 mm), spread evenly and rolled manually. Thickness varies with ground conditions — after rolling, the layer should be at least 15 cm on firm loamy soil and up to 30 cm on softer or uneven ground. In areas with high precipitation or frost risk, always choose maximum strength.
3. The Reinforced Slab
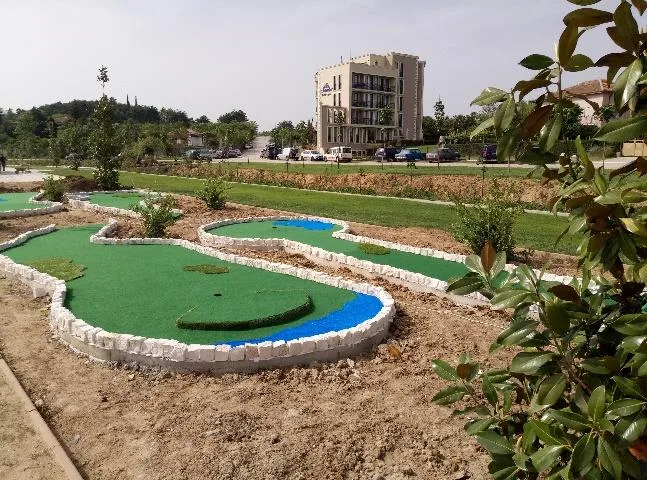
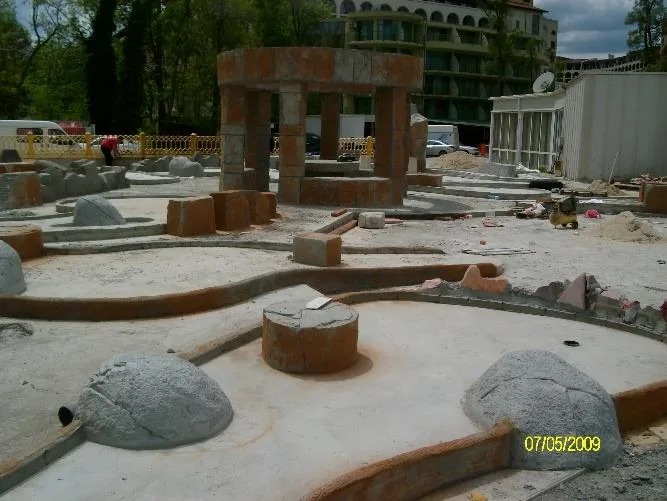
The reinforced slab — the actual playing surface — is poured in forms using Portland concrete (300 kg/m³) at a thickness of 10 cm. The surface must be perfectly horizontal across every fairway, left rough rather than smooth so the colored top layer keys in securely.
Reinforcement is two layers of 5 mm dispersion rods crossed at 15 mm intervals (or a “Perfect steel web” style mesh at 3 mm / 8–15 cm). The first layer sits roughly 2 cm above the lower side of the slab, the second about 2 cm below the surface. Profiled sections — bends, entrenchments, starting hills — are cast as raw moldings in concrete.
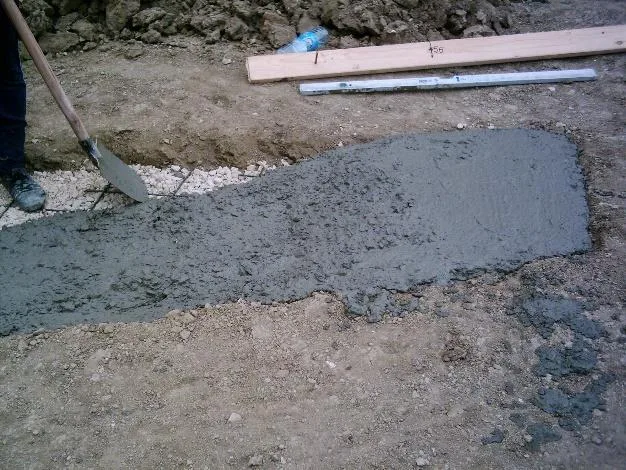
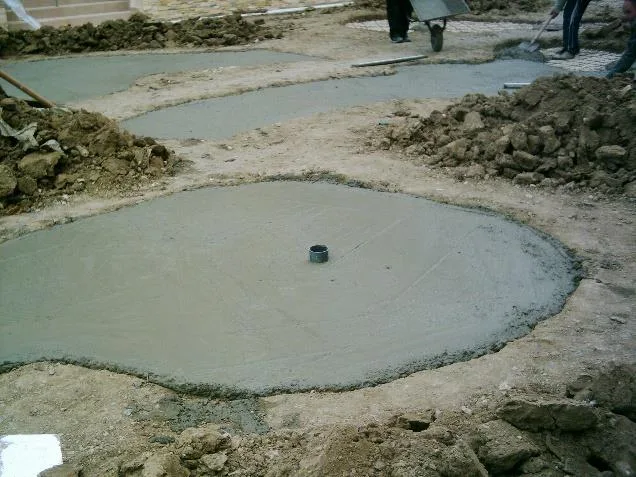
The arrangement of the holes (goals), tee-off areas, and obstacles within the fairway slab is done with careful consideration and strict adherence to the prescribed measurements.
4. The Frame of Natural Cement
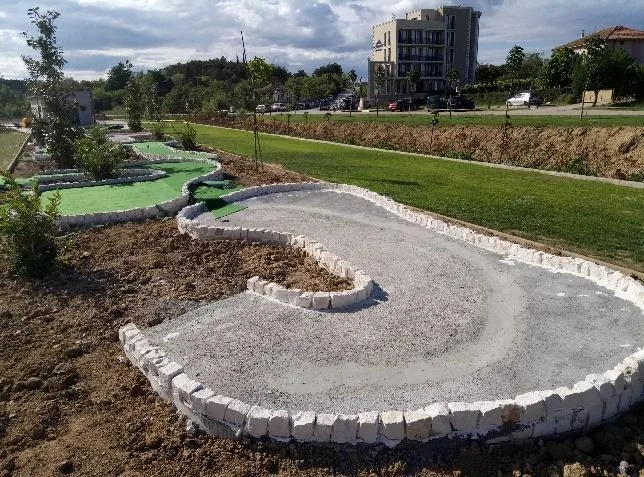
The border frame (half sand, half cement) is poured into special molds of structural iron, reinforced in the upper section with 6 mm steel rods tied into the slab. The slab’s border isn’t concreted at the same time as the main pour, and the reinforcement’s ends curve up 5 cm. Drain openings are set every 2 meters. Frames of brick or trapeze-shaped pavement can be used instead of poured cement.
5. Artificial Grass
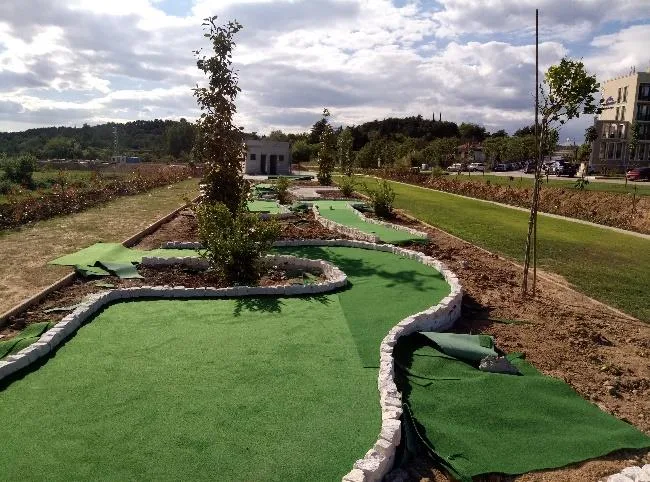
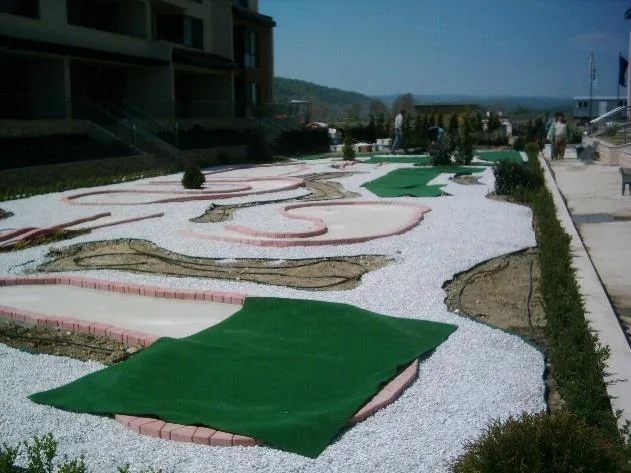
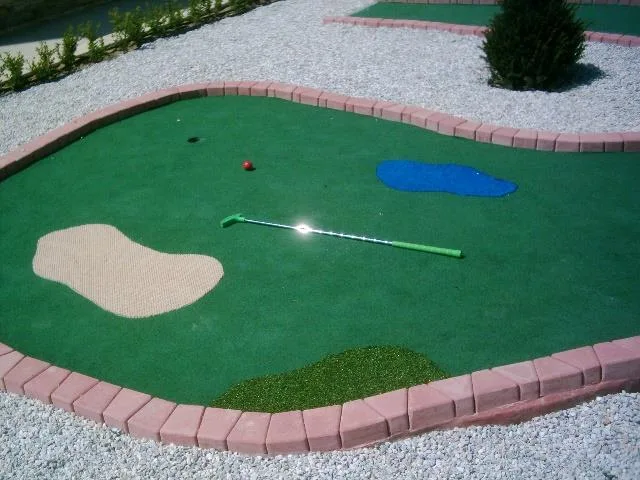
Artificial grass is cut and glued directly to the surface — use it for both rough and water hazards.
IV. Construction of the Obstacles
Obstacles are built to the arrangement and dimensions in the schemes and detailed drawings — but you have real freedom in choosing materials and finish. Simple obstacles can be natural flagstone, artificial stone, or painted brick and clinker, depending on the decorative effect you’re after. The same goes for the visible stonework on larger obstacles: entrenchments, small walls, the ticket office, and so on.
For boulder obstacles, natural rock in irregular shapes — granite or limestone — gives the most authentic look.
V. Illumination
Mini golf is very often an evening game, so good illumination matters. Use candelabra or hanging lamps, occasionally combined with mushroom-shaped floor lamps, arranged according to the fairway layout and terrain. Position fixtures to avoid throwing shadows onto tee-off areas and goals.
Lighting fixtures should sit roughly 3 m above the fairways, using lamps of 300–500 W each. Operation is most practical from the ticket/cashier’s office at the entrance.
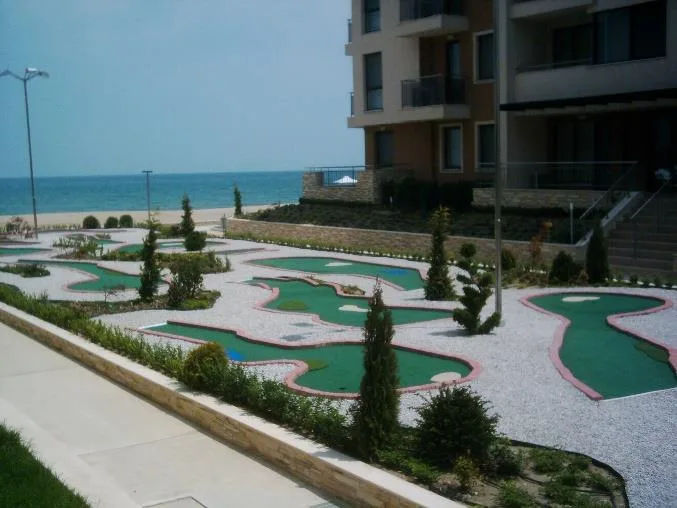
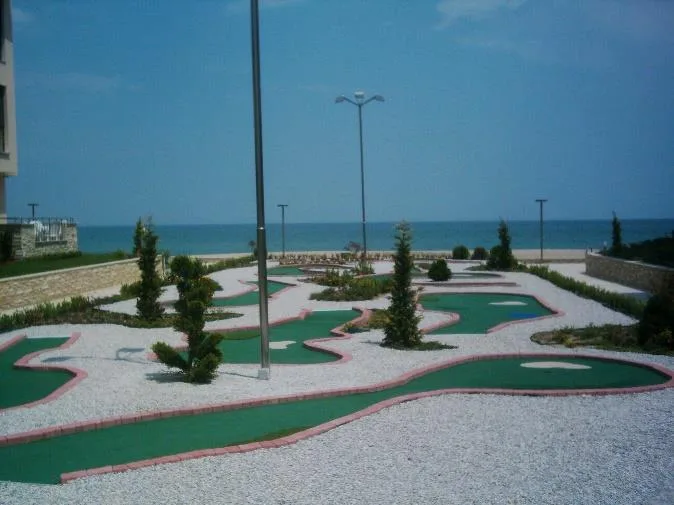
VI. Stone Walkways, Terrain, Planting and Lawns
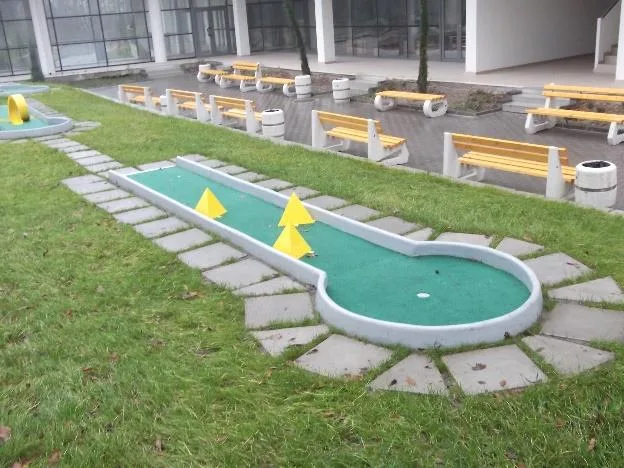
Once fairways and obstacles are finished, walkways come next. Natural flagstones in irregular shapes, laid on a sand bed, work best — space them 3–4 cm apart. Between fairways, spacing can be wider, and in some cases ordinary steps are enough. On sloping terrain, use natural stone stairs to connect fairways.
Note: flagstone walkways must follow the numbered sequence of the fairways, guiding the player through the course from the left of each fairway in the playing direction.
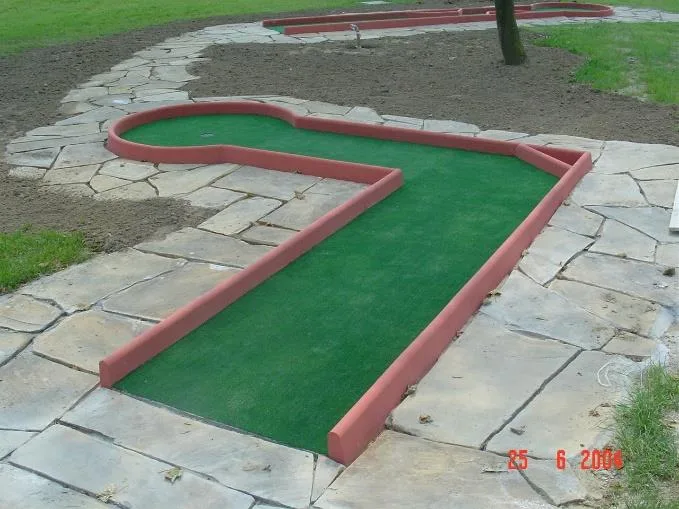
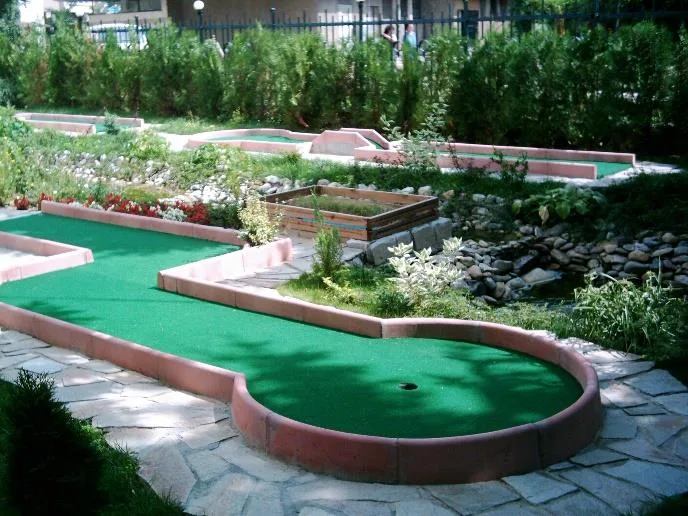

After the walkways are down, finish the open areas: add garden soil where needed, plant trees, shrubs and flower arrangements, and sow the lawn — a good-quality lawn area makes a real difference. Number the fairways according to the game rules and put up information signs. Finally, set up benches, tables (garden furniture or natural stone), and ashtrays on stands where needed.
VII. The Kiosk
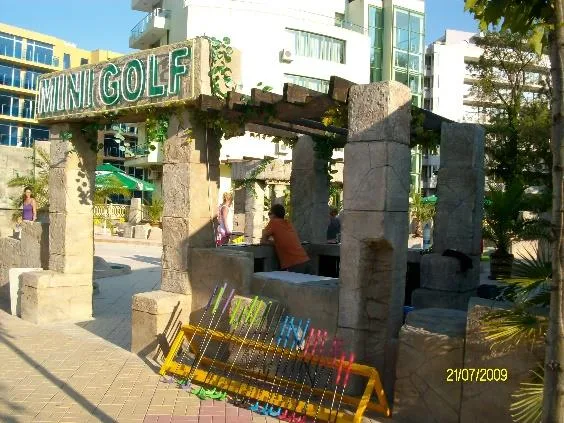
Every mini golf facility needs a covered, lockable room to handle:
- Cashier and issuing of sports equipment
- Storage of sports equipment and miscellaneous tools
- Sanitary facilities and a cloakroom
- Shelter during sudden rainfall
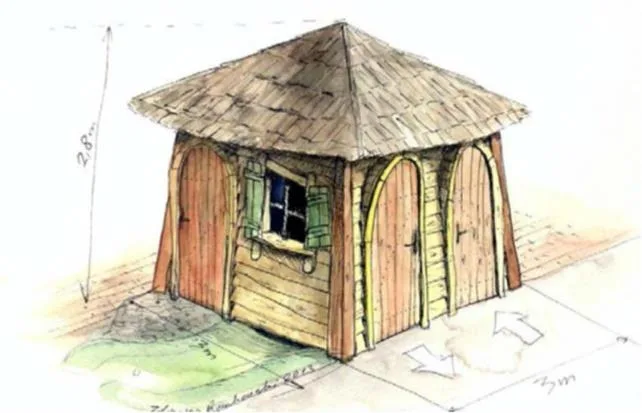
Shape, dimensions and furnishings depend on the site — any architect or building contractor can help with the structural side. A few requirements to keep in mind:
- From inside the kiosk, the whole course should be easy to overlook
- Doors and windows must close securely for winter
- Toilet rooms need sufficient ventilation
- Issuing and returning balls and putters should happen without bottlenecks
- Provide storage for regular players’ personal equipment
- Place enough waste containers (trash cans, ashtrays) throughout the facility
Ready to Build Your Own Course?
This free guide gives you the overview — but it doesn’t include the complete set of construction plans and AutoCAD files. Order a plan matched to your area and style, and you’ll get a free customization that alone can save you several thousand dollars.Order Your Miniature Golf Plans Today
Questions about your project? Email us at backyardminigolf@yahoo.com